Availability Tracking
Monitor and manage employee availability submissions across your events. See who has responded, send reminders, and export data for planning.
Before You Start
Before you can use the Availability Overview, two things need to be in place:
- Events with dates must exist. You need at least one event that has event dates configured. See the Event Management guide for instructions on creating events and adding dates.
- Employees must be approved. Only approved employees appear on the availability dashboard. Make sure your staff has registered and been approved in the Employee Management section before expecting them to show up here.
Here is the mental model for how availability tracking works in Graveyard Shift:
- An admin creates an event with specific dates and moves it to the
Collecting AvailabilityorPublishedstatus. - Employees see the event on their dashboard and mark themselves as available or unavailable for each date.
- Once employees submit their responses, the admin reviews the results on the Availability Overview dashboard.
- The admin uses the overview to identify gaps, send reminders to employees who have not responded, and export data for scheduling decisions.
Real-world example: You create an "October 2026 Season" event with 12 Friday and Saturday dates. You publish the event and ask employees to submit availability within one week. After a few days, you open the Availability Overview and see that 18 of 30 employees are Complete, 7 are Partial, and 5 have Not Started. You send reminders to the 5 who have not started and then export a CSV to start planning the schedule.
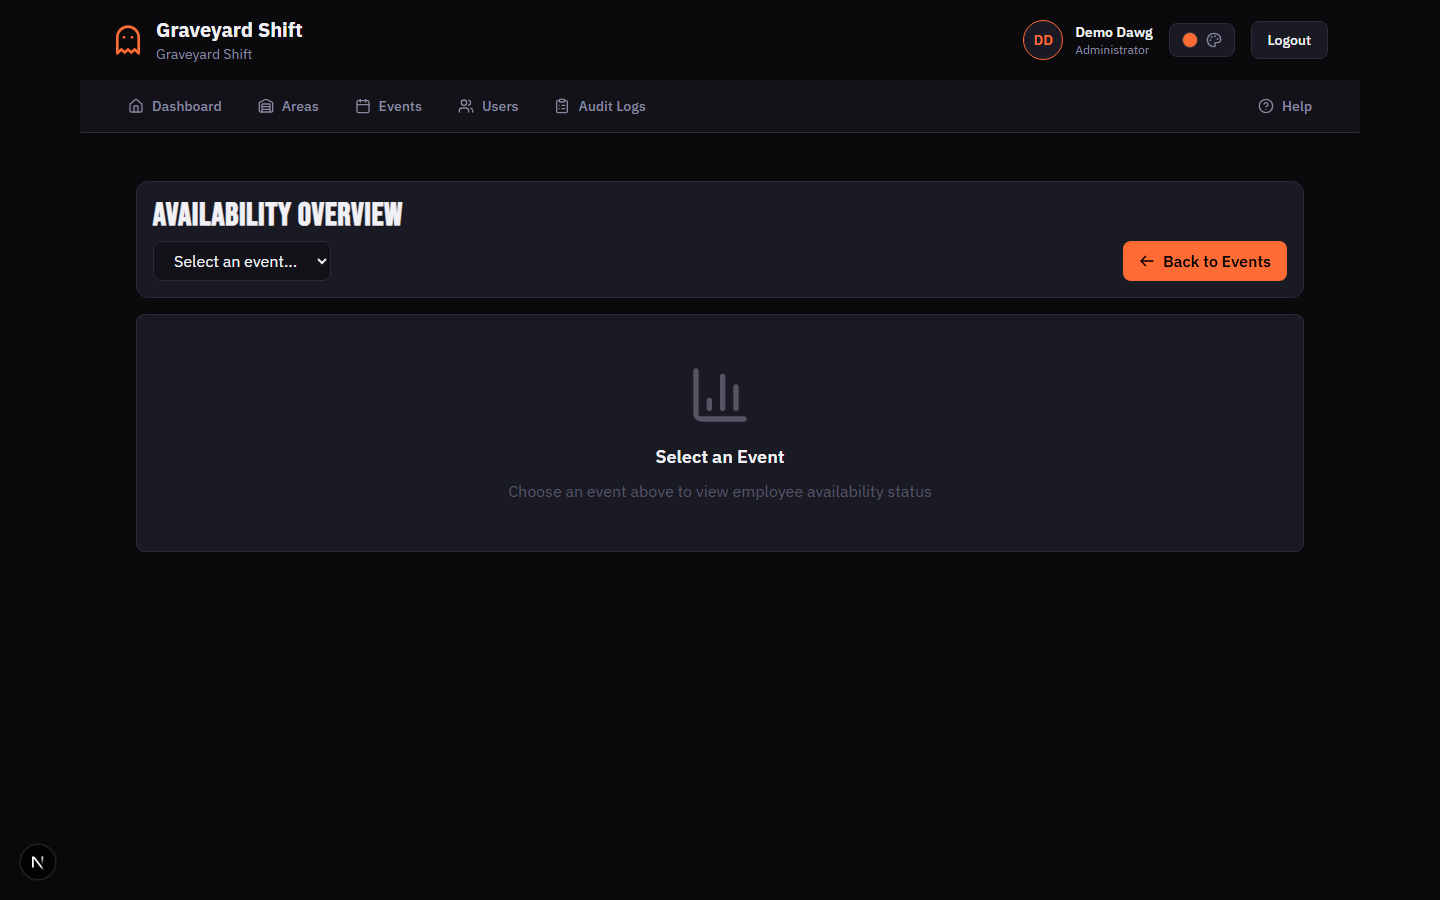
Availability Overview
The Availability Overview is the central dashboard for monitoring employee availability across your events. It provides summary statistics, a detailed employee table, and tools for sending reminders and exporting data.
Navigate to Availability Overview
From the Admin Dashboard, locate the Admin Tools section and click Availability Overview. This opens the availability tracking page where you can monitor employee responses across all events.
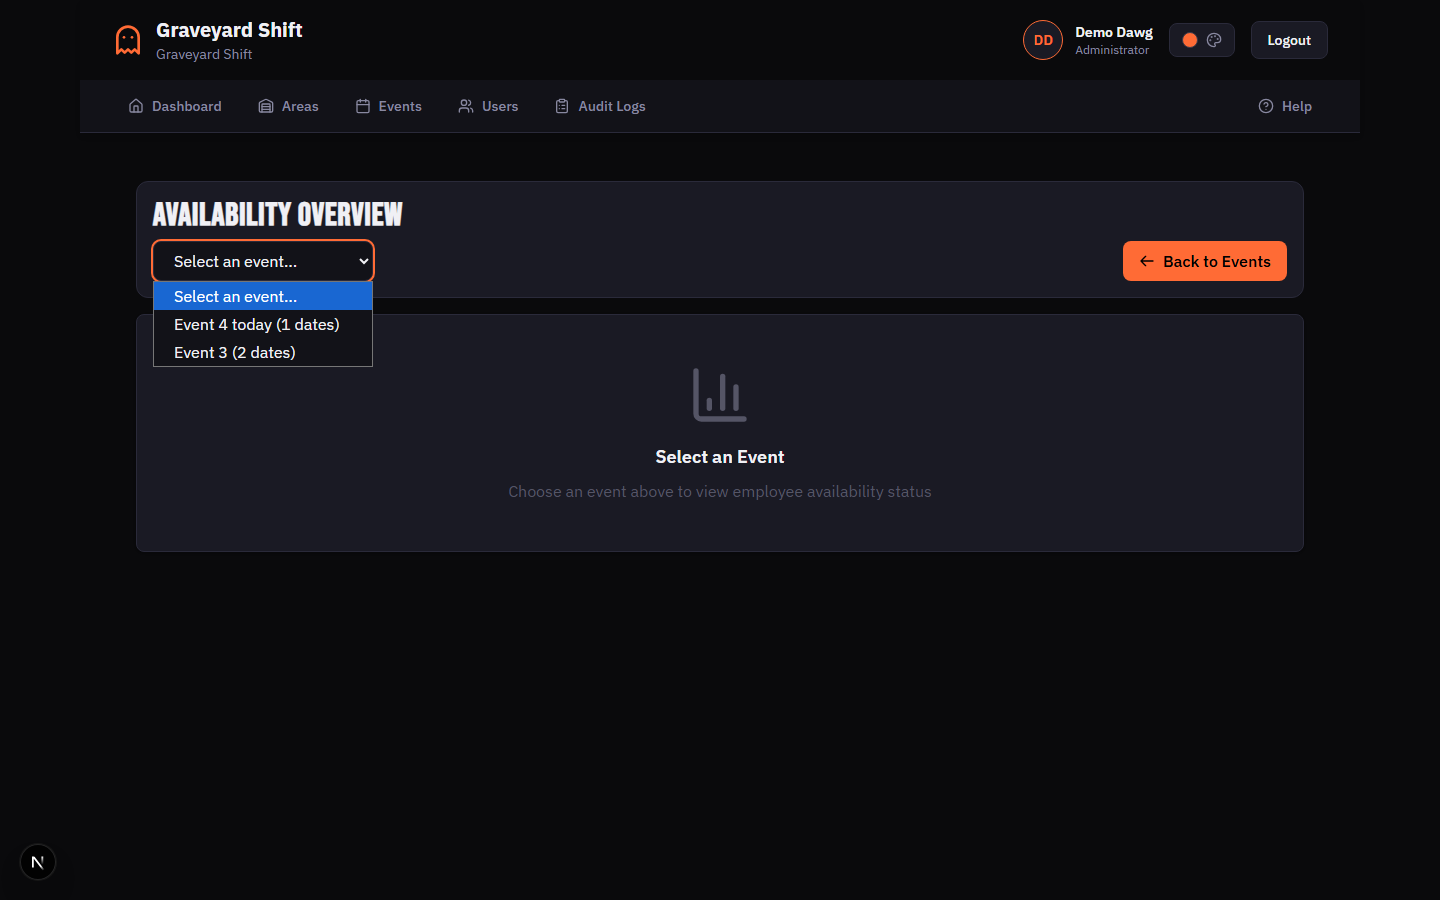
Select an event
Use the event selector dropdown in the page header to choose the event you want to review. The dropdown shows each event name along with the number of dates it contains. Once you select an event, the dashboard loads summary cards and the employee table.
Review the summary cards
Four summary cards appear at the top of the page: Total Employees, Complete, Partial, and Not Started. These give you an instant snapshot of where your team stands. The Complete count shows employees who responded to every date, Partial shows those who responded to some but not all dates, and Not Started shows employees who have not responded to any date.
Review the employee table
Below the summary cards, a table lists every approved employee for the selected event. Each row shows the employee name and email, a status badge (Complete, Partial, or Not Started), a progress bar with completion percentage, the date availability was last submitted, the employee's scheduled assignment for the next upcoming event date, and action buttons.
Employee Table Columns
| Field | Required | Description |
|---|---|---|
Employee | Yes | The employee's full name and email address. Names are pulled from the identity system and reflect whatever the employee entered during registration. |
Status | Yes | A color-coded badge showing Complete (responded to all event dates), Partial (responded to some dates), or Not Started (no responses yet). |
Progress | Yes | A horizontal progress bar with a percentage label. Shows the proportion of event dates for which the employee has submitted a response (either available or unavailable). |
Submitted | Yes | The date the employee last submitted availability. Shows a dash if the employee has not submitted any responses. |
Scheduled Assignment | No | The employee's area and position assignment for the next upcoming event date (or today's date, if an event is happening today). Shows "Not Scheduled" if the employee has no assignment for that date. |
Actions | Yes | Contains a View button to open the employee's individual availability detail, and a Send Reminder button for employees who have not completed all dates. |
Filtering and Searching
When you have a large team, the filter and search controls help you quickly find specific employees or focus on a particular status group. Both controls sit in a toolbar between the summary cards and the employee table.
Search by name or email
Type in the search field above the employee table. The table filters in real time as you type, matching against both employee names and email addresses. The row count summary below the table updates to reflect the filtered results (for example, "Showing 5 of 23 employees").
Filter by status
Use the status dropdown next to the search field. Choose All Statuses, Complete, Partial, or Not Started. The table immediately shows only employees matching the selected status. You can combine the search and status filters to narrow results further.
Filters and search can be combined. For example, you can set the status filter to Not Started and then type a name in the search field to find a specific employee who has not yet responded. The row count summary updates in real time to reflect the combined filter results.
Not Started. This isolates exactly the employees you need to follow up with and makes it easy to click Send Reminder on each row.Sending Reminders
The Availability Overview lets you send individual reminders to employees who have incomplete availability. This is useful as your submission deadline approaches and you need stragglers to respond.
Locate the employee row
In the employee table, find the employee you want to remind. The Send Reminder button only appears for employees whose status is Partial or Not Started. Employees who have already completed their availability do not show this button.
Click Send Reminder
Click the Send Reminder button in the Actions column for that employee. The button text changes to "Sending..." while the request is in progress. A notification appears at the top of the page confirming success or reporting an error.
Send Reminder button sends a notification immediately. There is no confirmation dialog. Be deliberate about which employees you remind and how frequently you send reminders to avoid overwhelming your team.Employees with a Complete status do not show the Send Reminder button because they have already responded to every date. If you need to reach a completed employee, use the Messaging feature instead.
Exporting Availability Data
You can export the availability data for the currently selected event to a CSV file. This is useful for offline planning, sharing with co-managers who do not have system access, or importing into spreadsheet tools.
Load the event overview
Select an event from the event dropdown so the availability data is loaded. The Export CSV button only appears after an event is selected and data has loaded.
Click Export CSV
Click the Export CSV button in the page header. A CSV file downloads immediately to your browser. The file is named using the event name and the current date (for example, "availability-overview-October-Haunt-2026-02-11.csv").
CSV Export Columns
| Field | Required | Description |
|---|---|---|
Employee Name | Yes | The employee's full name as it appears in the employee table. |
Email | Yes | The employee's email address. |
Status | Yes | The completion status: "complete", "partial", or "not_started". |
Completion % | Yes | The percentage of event dates for which the employee submitted a response. |
Submitted At | Yes | The date the employee last submitted availability, or "Not submitted" if they have not responded. |
Partial, only partial employees are included in the export. Clear all filters before exporting if you want the complete dataset.Understanding Completion Percentages
Each employee row displays a progress bar and a completion percentage. This value represents how many event dates the employee has responded to out of the total number of dates in the event.
The formula is:
Completion % = (dates responded / total event dates) x 100A "responded" date means the employee submitted either Available or Unavailable for that date. Dates left in the "Not Set" state are not counted as responded. The percentage is rounded to the nearest whole number.
- 0% -- the employee has not responded to any date. Status is "Not Started".
- 1% to 99% -- the employee has responded to some but not all dates. Status is "Partial".
- 100% -- the employee has responded to every date. Status is "Complete".
Best Practices
- Set a clear submission deadline. When you publish an event and begin collecting availability, tell your employees the exact date by which they need to submit. A concrete deadline drives faster completion rates. Send reminders two to three days before the deadline for anyone who has not started.
- Check the overview daily during collection. Visit the Availability Overview once a day while you are in the collection window. The summary cards give you an instant read on progress without needing to scroll through individual employees. If the "Not Started" count is not dropping, it is time to send reminders.
- Export before you start scheduling. Once the collection deadline has passed, export the CSV and review it in a spreadsheet. This gives you an offline reference while you work on the scheduling grid and helps you spot coverage gaps across dates before you begin assigning positions.
- Follow up with Partial employees individually. Employees with Partial status may have missed dates unintentionally or may be waiting to confirm plans for specific weekends. A quick message asking which dates they still need to finalize is more effective than a generic reminder.
Troubleshooting
No employees showing in the table
The employee table only shows approved employees. If you do not see anyone, check the Employee Management page to verify that employees have been approved. Pending or rejected employees are excluded from the availability overview. Also confirm that you have selected the correct event from the dropdown -- a different event may have a different set of associated employees.
Employee shows "Not Started" despite responding
The overview counts only submitted (non-draft) availability responses. If an employee has selected dates but has not clicked Submit Availability on their side, those responses are still in draft status and will not count toward their completion percentage. Let the employee know they need to finalize their submission by clicking the submit button.
Send Reminder button is missing
The Send Reminder button only appears for employees whose status is Partial or Not Started. If an employee has a Complete status, the button is intentionally hidden because they have already responded to every date. If you do not see the button for any employees, it likely means everyone has completed their availability for the selected event.
Export CSV button not appearing
The Export CSV button only appears after you select an event and the overview data has finished loading. If you have not selected an event yet, or if the data is still loading (you will see a loading spinner), the button will not be visible. Select an event and wait for the employee table to render before exporting.