Quick Start Guide
Get from zero to your first scheduled event in about 30 minutes. This walkthrough covers the essential steps to set up your haunted attraction in Graveyard Shift.
What is Graveyard Shift?
Graveyard Shift is a staff scheduling platform built specifically for haunted attractions. It handles everything from mapping out your haunt layout (areas and positions) to scheduling scare actors across multi-night events, tracking availability, managing costumes, and communicating with your crew. If you run a haunted house, corn maze, hayride, or any seasonal scare attraction, this tool replaces spreadsheets, group texts, and guesswork.
Your First 30 Minutes
Follow these seven steps to go from a blank account to a working schedule. You can come back and refine everything later — the goal here is to see the core workflow end to end.
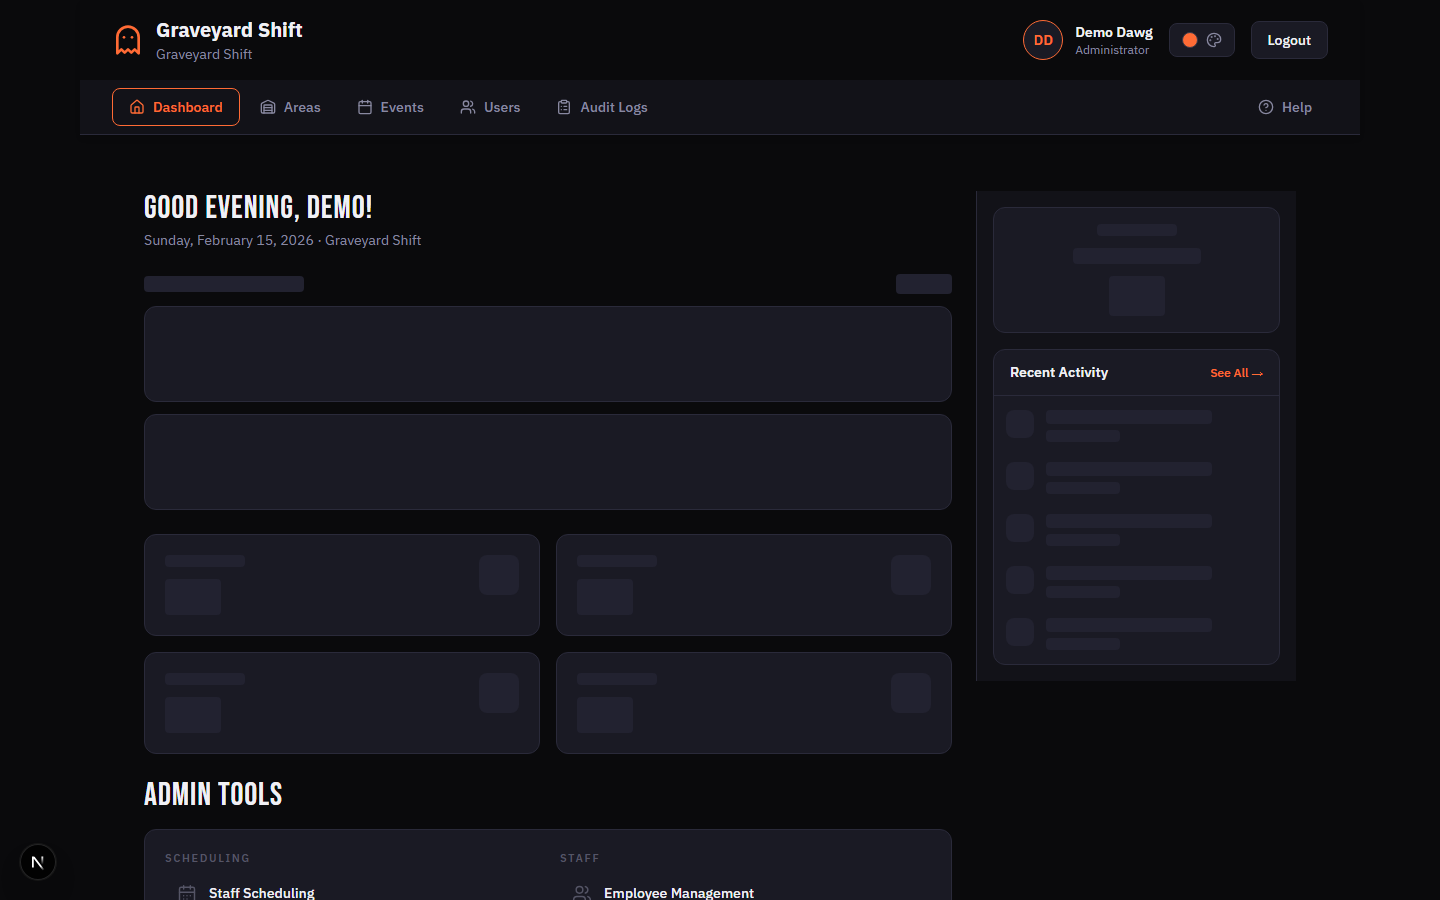
Log in and explore the Admin Dashboard
After signing in, you land on the Admin Dashboard. This is your mission control — it shows quick stats (active employees, upcoming show dates, coverage percentage), items that need your attention (pending applications, unfilled positions), and links to every admin tool. Take a moment to orient yourself.
Create your first area
Navigate to Areas & Positions from the Admin Tools section. Click Create New Area. Enter a name like "Haunted Forest" or "Graveyard", pick an icon, and add a short description. Click Save Area. Repeat for 2-3 zones that match your attraction layout.
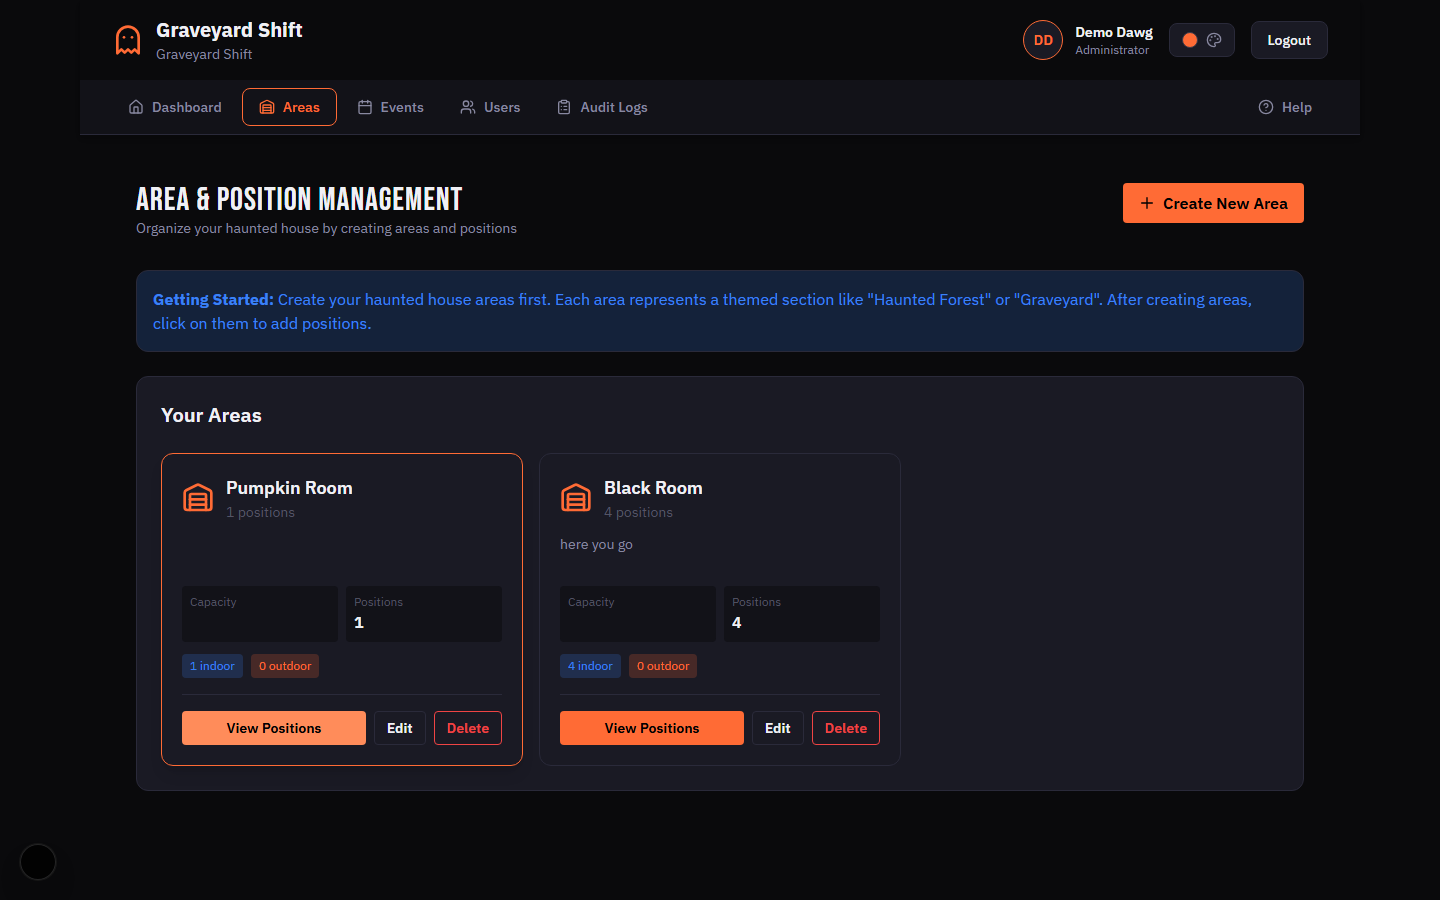
Add positions to each area
Click View Positions on an area card, then Add Position. Each position represents a role — "Scare Actor", "Greeter", "Queue Line Monitor", etc. Set the name and how many people you need per date. Add 2-3 positions per area to start.
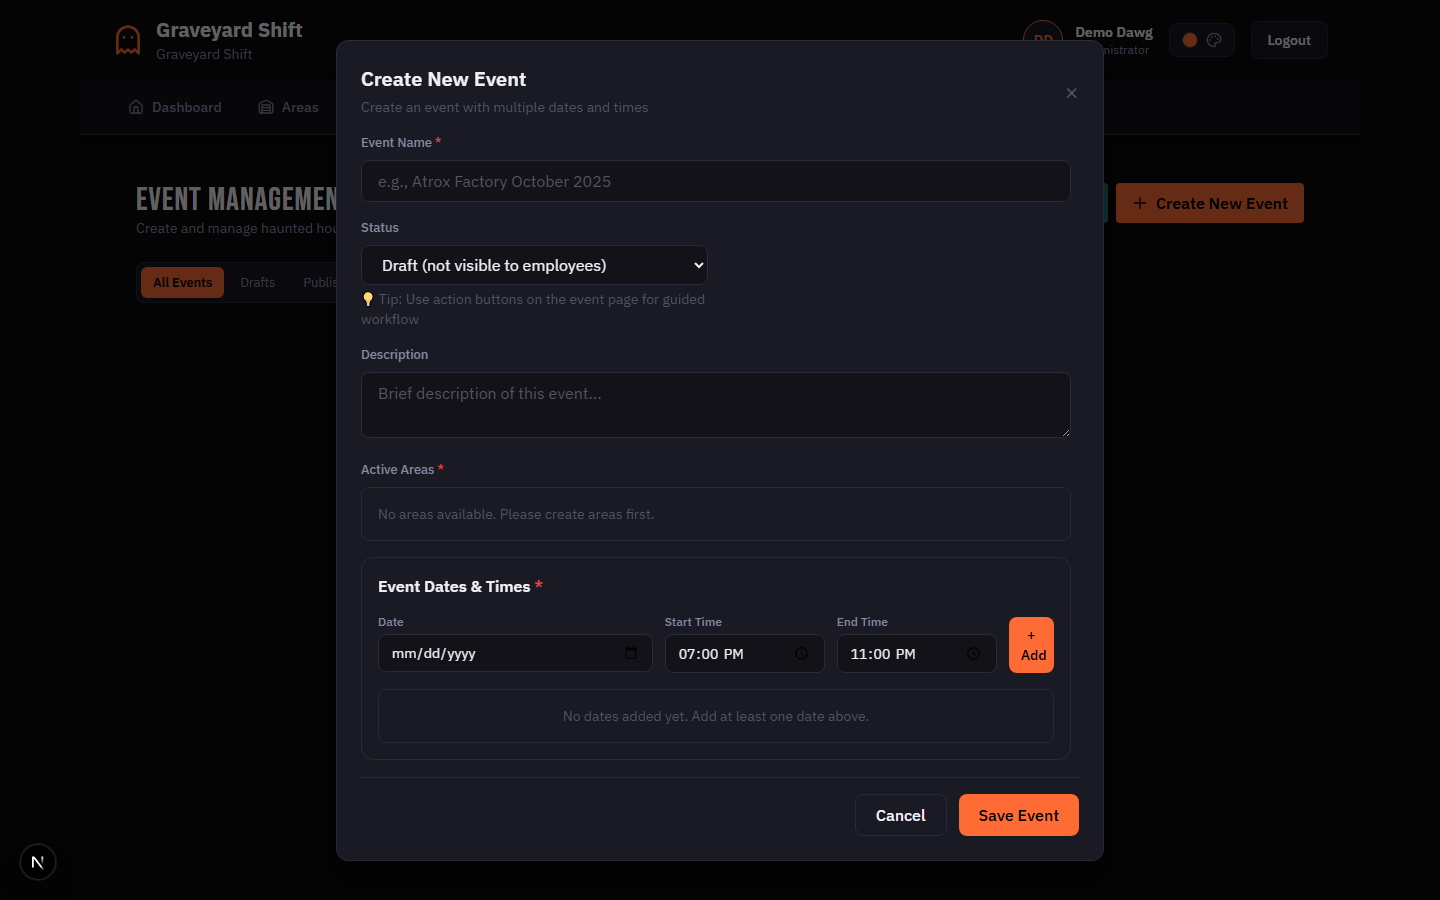
Create your first event with dates
Go to Event Management and click Create New Event. Give it a name like "October 2025 Haunt Season". Select which areas are active for this event, then add your show dates with start and end times (e.g., Oct 31, 7:00 PM - 11:00 PM). The event starts as a Draft.
Invite employees
Share your registration link with potential staff. They fill out a 4-step registration form with personal info, emergency contacts, and availability preferences. Their application appears in your Employee Management page as pending. Review and approve each applicant to give them access.
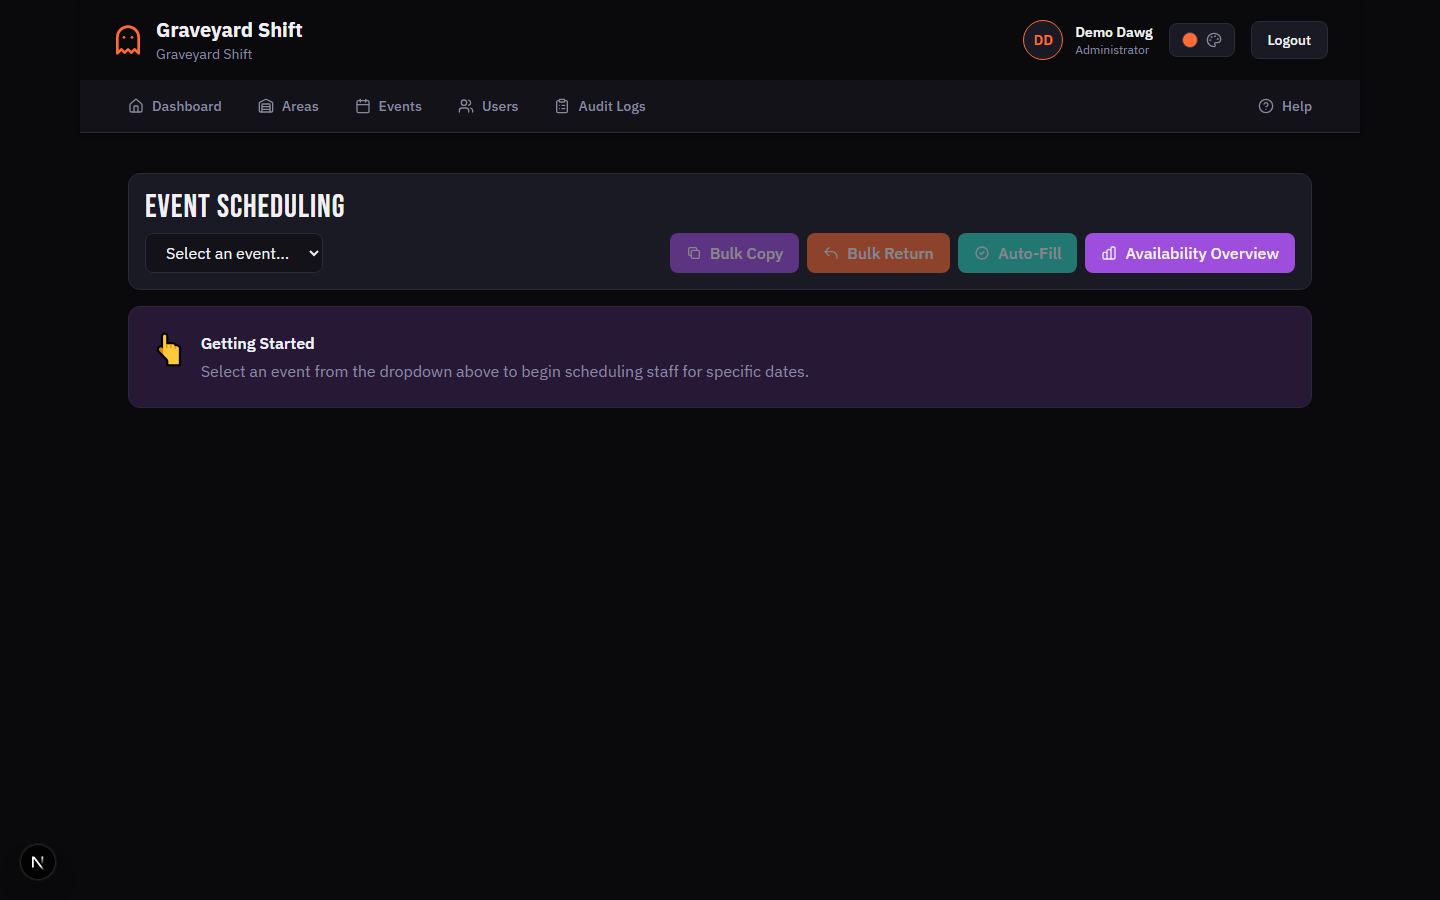
Schedule an employee to a position
Open Staff Scheduling from the Admin Tools. Select your event and a specific date. The scheduling grid shows positions on the right and available employees on the left. Drag an employee card onto a position slot to assign them. The coverage percentage updates in real time.
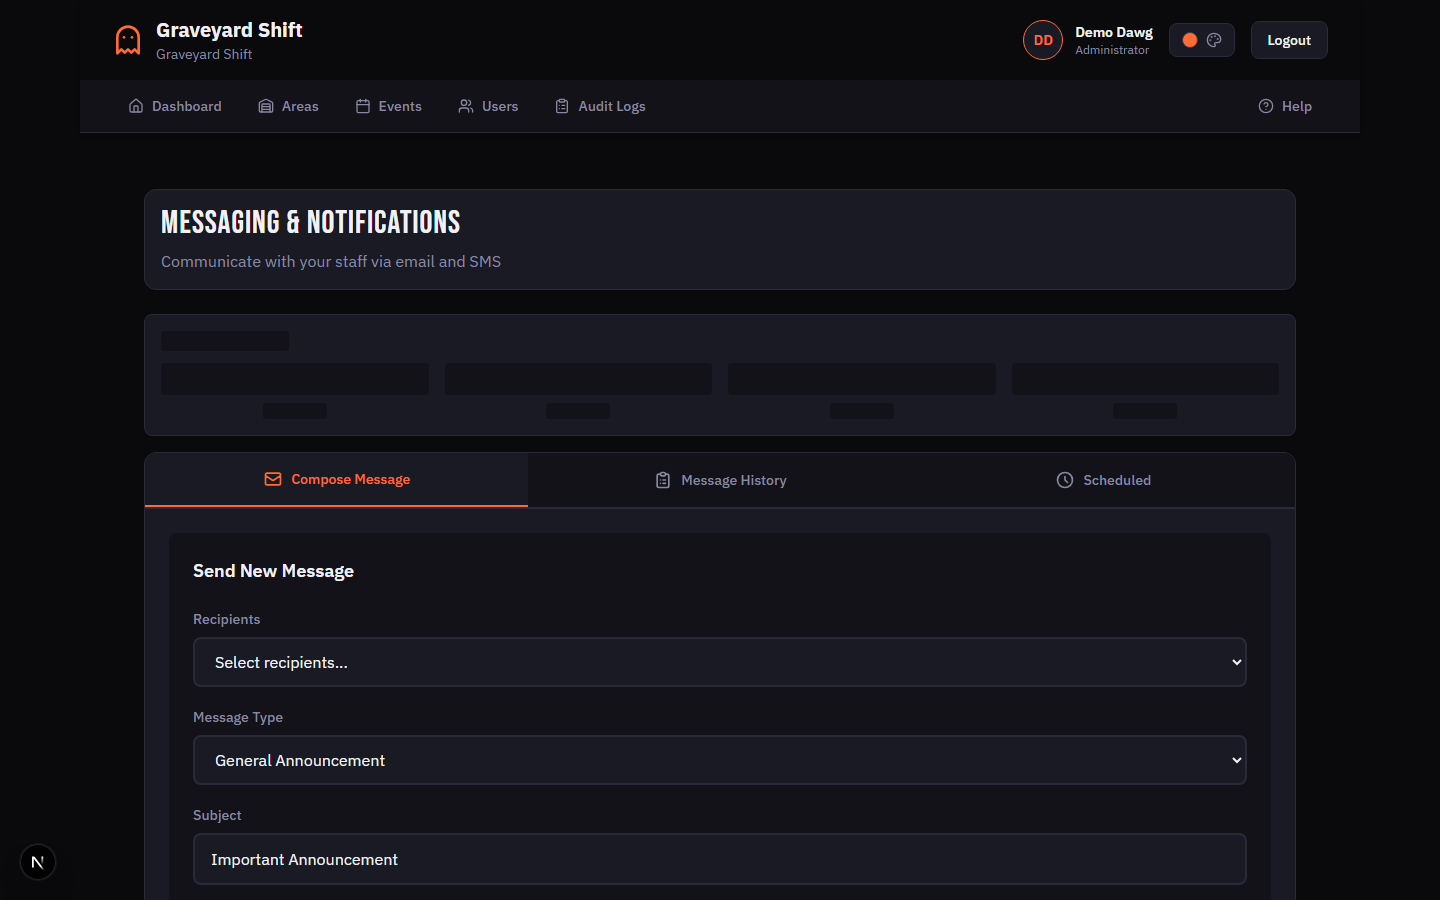
Send a notification
Navigate to Messaging from Admin Tools. Select your recipients — you can choose All Staff, a specific event group, or individual employees. Write your subject and message, choose Email and/or SMS, then click Send Now. Your staff gets notified instantly.
Key Concepts
Areas represent the physical zones of your attraction — "Haunted Forest", "Graveyard", "Asylum Wing", etc. Each area contains one or more positions.
Positions are the roles within an area — "Scare Actor", "Greeter", "Queue Line Monitor". You set how many people each position needs per show date.
Events group multiple show dates together. A typical event might be "October 2025 Season" with 15 individual dates. Each date has its own start/end time and can be independently cancelled.
Coverage is the percentage of positions filled for a given date. The dashboard shows coverage color-coded: red below 50%, yellow from 50-80%, green above 80%.
What's Next
You have the basics running. Dive deeper into each feature with these guides: