Initial Setup
Walk through every configuration step to get your Graveyard Shift account ready for staff. This guide covers organization settings, themes, areas, events, notifications, and admin users.
Before You Start
This guide covers the detailed setup process for a new Graveyard Shift account. If you want the abbreviated version, see the Quick Start Guide which walks you through the essential steps in about 30 minutes. Come back here when you are ready to configure every option in depth.
Organization Settings
During signup, you entered your company name, timezone, and contact details. The first thing to do after logging in is verify that everything is correct. Organization settings affect how times are displayed, how notifications are formatted, and what employees see when they log in.
Navigate to Organization Settings
After your first login, open the Admin Dashboard. Your company name, timezone, and contact details were set during signup. To review or update them, navigate to the settings area from the admin navigation.
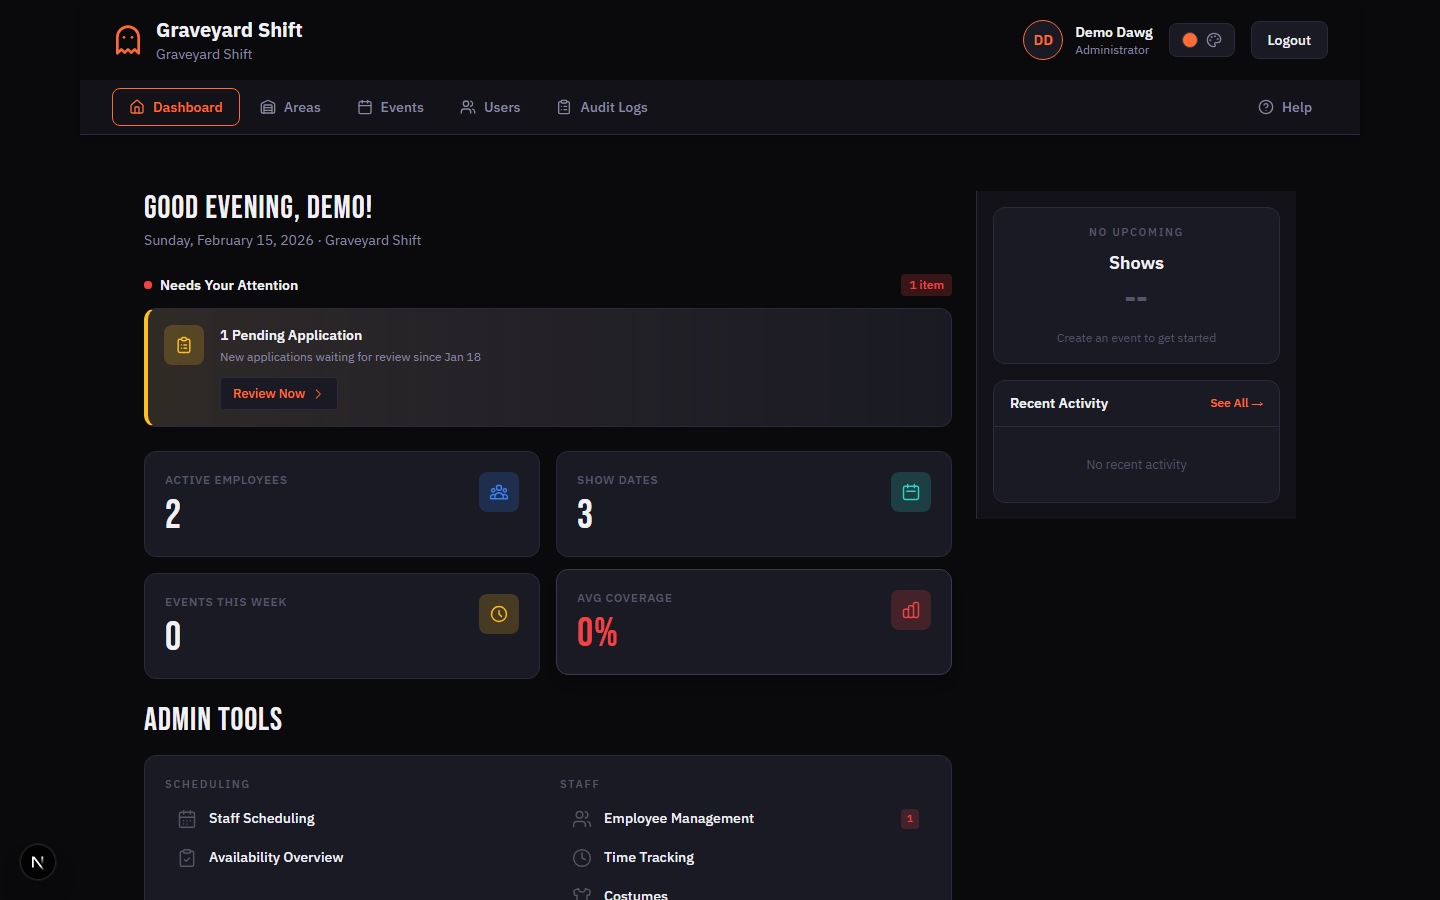
Review your company name
Confirm the company name that was entered during signup. This name appears in the navigation header, employee-facing pages, and notification emails. If you need to change it, update the Company Name field and save.
Verify your timezone
Your timezone was auto-detected from your browser during signup, but you should confirm it is correct. The timezone controls how event times, schedule assignments, and notification delivery windows are displayed. Select the correct US timezone from the dropdown if it needs adjustment.
Update contact information
Fill in or verify your organization phone number, street address, city, state, and ZIP code. This information is used for employee communications and appears in certain notification templates.
Theme Selection
Graveyard Shift includes 8 built-in themes so you can match the look of the application to your haunt's personality. Themes are split into two groups: Dark and Light.
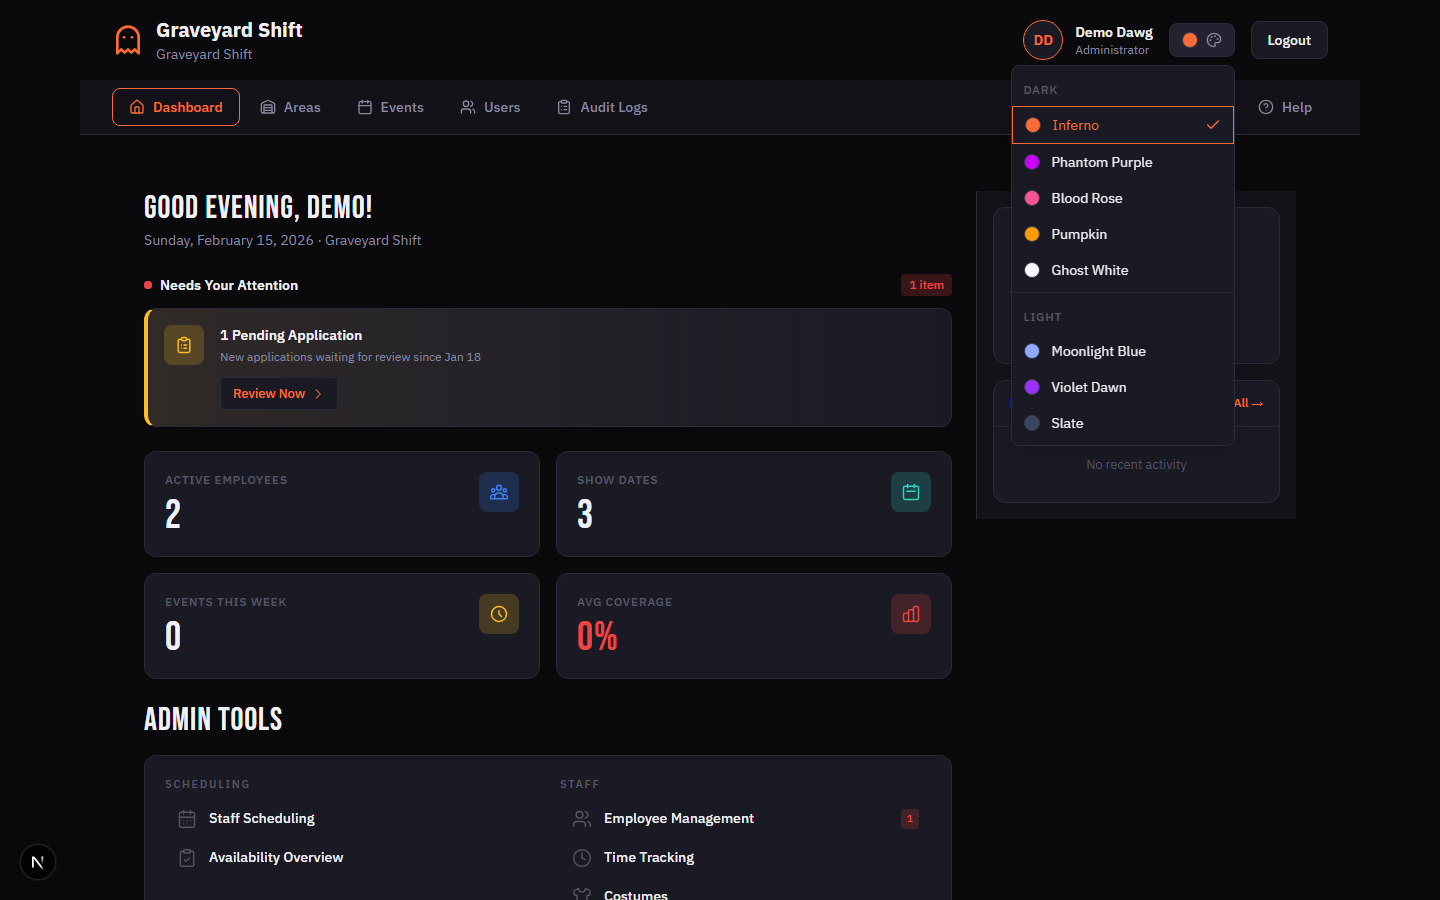
Dark Themes (5)
Inferno-- The default theme. A dark background with warm orange accents. Ideal for fire-themed or classic haunted attractions.Phantom Purple-- Dark background with vibrant purple accents. Great for supernatural or gothic-themed haunts.Blood Rose-- Dark background with hot pink accents. Fits horror attractions with a bold, modern aesthetic.Pumpkin-- Dark background with deep orange-gold accents. Perfect for fall festival and harvest-themed events.Ghost White-- Dark background with pale white accents. A minimal, eerie look for ghost-themed operations.
Light Themes (3)
Moonlight Blue-- Light background with soft blue accents. A clean, professional look for organizations that prefer a lighter interface.Violet Dawn-- Light background with rich violet accents. Balances readability with the haunt aesthetic.Slate-- Light background with neutral slate-blue accents. The most understated option for business-focused environments.
How to Change Your Theme
Open the theme picker
Click the theme swatch or palette icon in the admin header bar. A dropdown panel appears showing all available themes organized into Dark and Light groups.
Choose a theme
Click any theme swatch to apply it instantly. The entire application updates to reflect the new color palette. Your selection is saved and persists across sessions.
Preview and confirm
Navigate through a few pages to see how the new theme looks across the dashboard, scheduling grid, and employee-facing pages. Every user in your organization sees the same theme you select.
Setting Up Areas and Positions
Areas represent the physical zones of your attraction -- Haunted Forest, Graveyard, Asylum Wing, and so on. Each area contains one or more positions (Scare Actor, Greeter, Queue Line Monitor) that define the roles staff can fill. Areas and positions are the foundation of scheduling: you cannot assign employees to shifts until at least one area with at least one position exists.
From the Admin Dashboard, navigate to Areas & Positions under Admin Tools. Click Create New Area to add your first zone, then click View Positions on the area card and add positions within it. Set the number of people each position needs per show date so the scheduling grid knows your staffing targets.
For the full walkthrough including import/export, icon selection, and position capacity planning, see the Areas & Positions Guide.
Creating Your First Event
Events group multiple show dates together under a single name. A typical event might be "October 2025 Haunt Season" containing 15 individual nights. Each date has its own start and end time and can be independently cancelled. Events start in Draft status, which means they are invisible to employees until you change them to Published.
Navigate to Event Management from the Admin Dashboard and click Create New Event. Enter the event name, select which areas are active, and add your show dates with times. Save the event as a Draft and refine the schedule before publishing.
For the full walkthrough including duplication, status transitions, and batch publishing, see the Event Management Guide.
Configuring Notifications
Graveyard Shift can automatically send reminders and alerts to your staff at key moments: daily work reminders, shift warnings two hours before start time, attendance confirmation requests, and no-show alerts. Configuring notifications early means your staff will receive timely updates as soon as you start publishing events.
Navigate to Automation Rules
From the Admin Dashboard, click Systems under the Admin Tools section. This opens the Automation Rules management page where you can configure automated notifications.
Review the default rules
Graveyard Shift includes built-in automation rules for common scenarios: daily work reminders, 2-hour shift warnings, attendance confirmation requests, and no-show alerts. Each rule has an on/off toggle and a configuration panel.
Enable or disable rules
Toggle each rule on or off based on your needs. When a rule is enabled, it runs automatically based on its configured timing. You can start with all rules disabled and enable them one at a time as you get comfortable with the system.
Configure delivery channels
For each rule, choose whether notifications are sent via Email, SMS, or both. SMS delivery requires that employees have a phone number on file. Email delivery uses the address associated with their account.
Inviting Admin Users
If multiple people manage your haunt, create additional admin accounts so they can help with scheduling, messaging, and employee management. Each admin has full access to all management tools.
Open User Management
From the admin navigation, go to User Management. This page lists all user accounts in your organization.
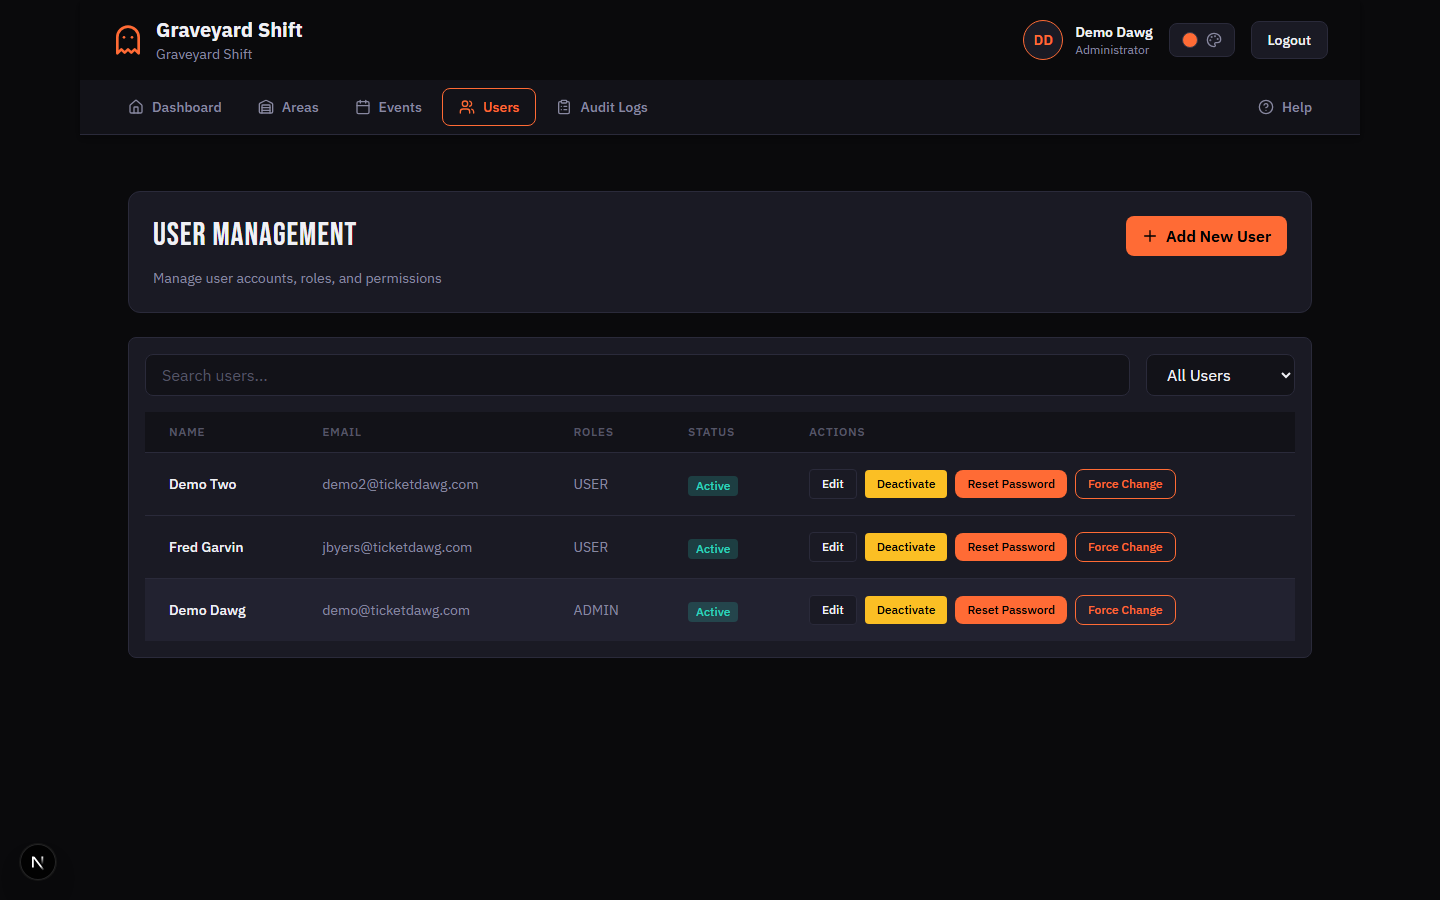
Click Add New User
Click the Add New User button in the page header. Fill in the new admin's first name, last name, email address, phone number, and set an initial password.
Assign the Admin role
In the Roles section of the form, check the Admin checkbox. This grants the user full management access including scheduling, messaging, employee management, and system configuration.
Save and share credentials
Click Create User to finalize the account. Share the login email and initial password with the new admin through a secure channel. Consider using the Force Change option afterward so they set their own password on first login.
For the full walkthrough on editing users, deactivating accounts, resetting passwords, and managing roles, see the User Management Guide.
Ready for Staff Checklist
Before you share the registration link with employees, confirm that you have completed every item below. This ensures a smooth experience for your staff from day one.
- At least one area has been created
- Each area has one or more positions with staffing counts defined
- An event has been created with at least one show date and start/end times
- Notification preferences have been configured (email, SMS, or both)
- At least one admin user account is ready (you may be the only admin, and that is fine)