Setting My Availability
Tell your admin which event dates you can work. Mark yourself as available or unavailable for each date, add optional notes, and submit when you are ready.
Before You Start
Availability submission is only possible when your admin has created events with dates and moved them to a status that allows collection. If no events appear in the dropdown, it means there are no published events for you to respond to yet. Check back later or ask your admin when the next event will be available.
Here is the general flow: your admin publishes an event, you open the Set Availability page from your dashboard, select the event, mark each date as available or unavailable, and click Submit Availability to finalize your responses. Your admin can then see your availability when building the schedule.
Grid View and Calendar View buttons in the page header. On mobile devices, only the grid view is available.Submitting Your Availability
Follow these steps to mark your availability for an event and submit it to your admin.
Open the Set Availability page
From your Employee Dashboard, click the Set Availability button in the Quick Actions card. This navigates you to the availability page where you can mark which dates you are available to work.

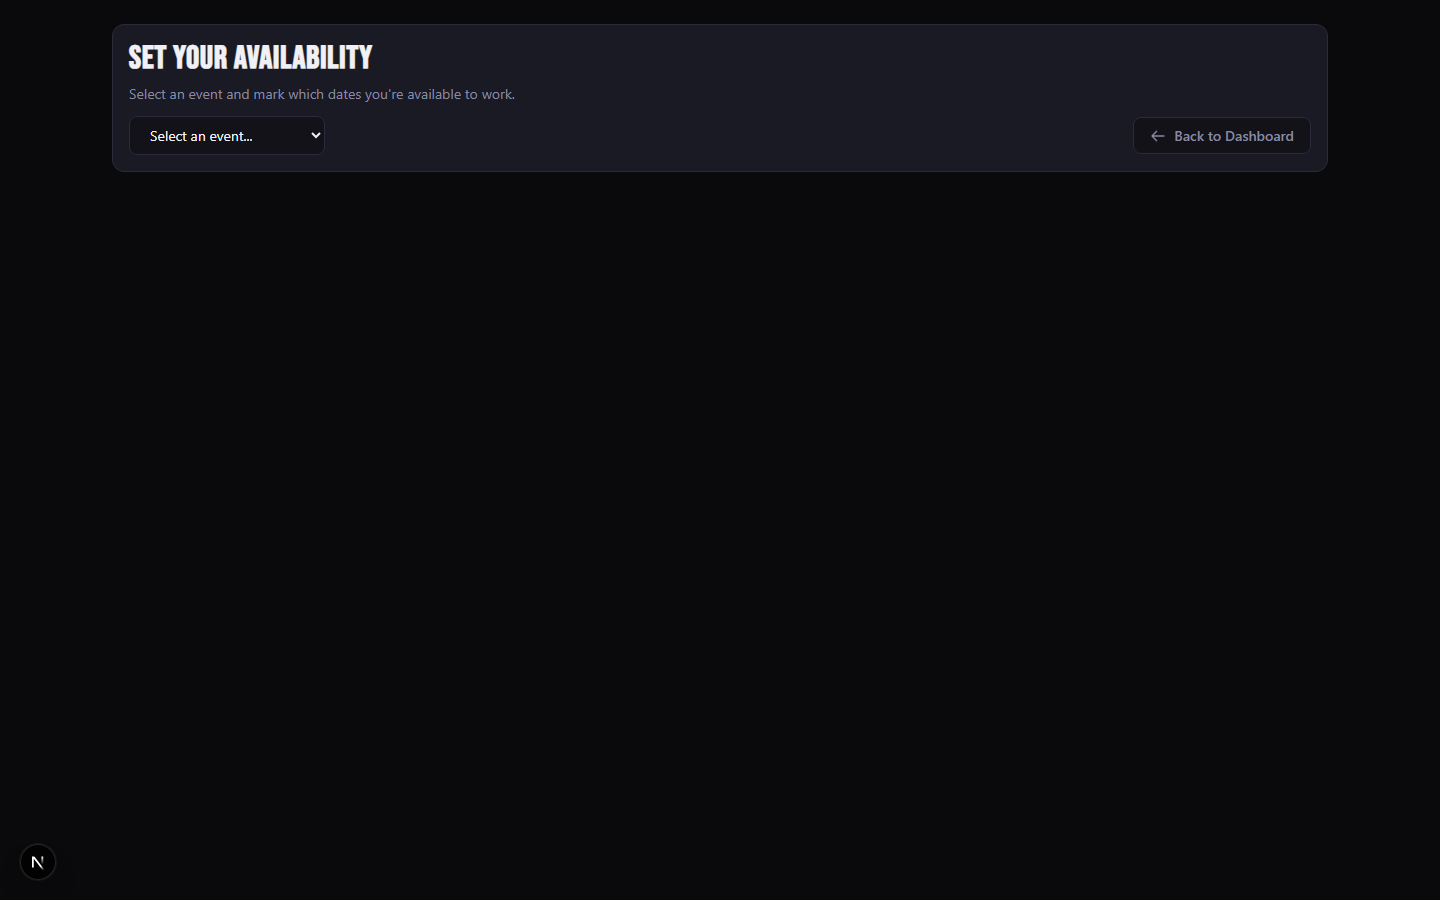
Select an event
Use the event dropdown at the top of the page to choose the event you want to respond to. Each event shows the event name and the number of dates it contains (for example, "October Haunt (12 dates)"). After selecting an event, the page loads all event dates along with your current availability status for each one.
Review the stats bar
Below the event selector, a stats bar shows the event name, total number of dates, how many you have marked as available, unavailable, and not set, plus a progress bar with your completion percentage. This gives you an instant view of where you stand.
Mark each date
Each event date appears as a card showing the date, day of the week, and shift time. Click the Available button (green) or Unavailable button (red) on each card. The card border changes color to reflect your selection: green for available, red for unavailable, and yellow for not set. Your changes auto-save after a 2-second pause.
Submit your availability
Once you have marked all the dates, click the Submit Availability button at the bottom of the page. This finalizes your responses and notifies the schedulers. After submission, the page shows a green "Availability submitted successfully" banner and the date cards become read-only.
Bulk Set: Available or Unavailable for All Dates
If you are available for most (or all) dates, bulk actions save you from clicking each card individually. Set a baseline with one click, then adjust the exceptions.
Locate the Quick Actions sidebar
On the left side of the date grid (or above the grid on mobile), you will see a Quick Actions sidebar with three bulk action buttons: All Available, All Unavailable, and Reset All.
Set all dates at once
Click All Available to mark every unlocked date as available, or All Unavailable to mark every unlocked date as unavailable. Use Reset All to clear all your selections back to "Not Set". These actions apply immediately and update the stats bar.
Fine-tune individual dates
After using a bulk action, you can still change individual dates by clicking the Available or Unavailable button on any specific date card. This lets you quickly set a baseline (for example, available for all dates) and then mark the few exceptions where you are unavailable.
All Available first, then go through the grid and flip just the dates you cannot make to Unavailable. This is much faster than marking each date one by one when you have many dates.Adding Per-Date Notes
Each date card has a collapsible note section. Click Add note below the Available / Unavailable buttons to expand a text field where you can leave a message for your admin. Notes are limited to 500 characters and auto-save along with your availability selections.
Use notes to communicate partial availability or special circumstances. For example: "Can arrive after 7pm" or "Have a prior commitment until 6pm." Once a note is added, the toggle label changes to View note and a preview of the note text appears on the card.

Deadline Awareness
Your admin sets a deadline for availability submissions and will typically communicate it through a message or announcement. While the availability page does not enforce a hard cutoff, submitting after the deadline means the schedule may already be finalized without your input.
If you receive a reminder notification asking you to complete your availability, treat it as a sign that the deadline is approaching. Open the availability page, finish marking your dates, and click Submit Availability as soon as possible.