Time Clock
Track employee attendance with real-time clock-in and clock-out functionality. Employees record their shifts from the dashboard, and admins monitor attendance, edit time entries, and generate reports.
Before You Start
The time clock is tied to your schedule assignments. While employees can clock in without a specific assignment, the system works best when shifts have been created and published through the Staff Scheduling workflow. When a schedule assignment exists, the time clock automatically links the work session to the correct event, position, and area -- giving admins full context in attendance reports.
Here is the basic flow: an employee opens their dashboard, sees the Time Clock card with a live clock display, and clicks Clock In Now when they arrive. At the end of their shift, they click Clock Out, confirm via a modal, and the system records the completed session. On the admin side, the Time Clock page shows real-time check-in status for each event date, with the ability to manually check staff in or out and edit time entries after the fact.
Employee Clock-In Flow
Clocking in records the start of your shift and creates a work session that tracks your hours. Follow these steps when you arrive at the event location.
Open the Employee Dashboard
Log in and navigate to your Employee Dashboard. The Time Clock card is displayed prominently with a live clock showing the current time and date.

Check your clock status
The status indicator below the clock display shows whether you are currently clocked in or clocked out. If you are already clocked in, the button changes to Clock Out.
Allow location access (optional)
When you click the clock-in button, your browser may request permission to access your location. Location capture is optional -- if you deny the request or your device does not support geolocation, the clock-in proceeds without location data. If your event has a geofence configured, you must be within the required radius of the event location to clock in successfully.
Click Clock In Now
Click the Clock In Now button. The system creates a work session and a time entry recording your clock-in timestamp. A green success banner confirms the action with the message "Successfully clocked in!" The status indicator changes to "Currently Clocked In" and the button label changes to Clock Out.
Time Clock Card Fields
| Field | Required | Description |
|---|---|---|
Current Time | No | Live clock display updated every second showing the current time and date in your local timezone. |
Clock Status | No | Indicates whether you are Currently Clocked In or Currently Clocked Out. Color-coded: green when clocked in, default when clocked out. |
Clock In / Clock Out Button | No | Primary action button. Shows "Clock In Now" when clocked out or "Clock Out" when clocked in. Disabled while processing to prevent double-clicks. |
Location (optional) | No | GPS coordinates captured from your device when clocking in or out. Used for geofence validation if the event has a location configured. If location access is denied, the action proceeds without location data. |
Employee Clock-Out Flow
Clocking out ends your active work session, calculates total time worked, and updates your profile with the accumulated hours.
Click Clock Out
When you are ready to end your shift, click the Clock Out button on the Time Clock card. A confirmation modal appears showing your session details.
Review session details
The confirmation modal displays your clock-in time, the current clock-out time, and the total session duration (hours and minutes). Verify these details before confirming.
Confirm the clock out
Click Confirm Clock Out to finalize. The system records the clock-out time, calculates total minutes worked, and updates your employee profile with the accumulated hours. A success banner confirms the action with the message "Successfully clocked out!" The status returns to "Currently Clocked Out" and the button changes back to Clock In Now.
Admin View of Time Entries
Admins have a dedicated Time Clock page that provides a real-time check-in dashboard for each event date, plus a time tracking report covering all work sessions across the company. Navigate to the admin Time Clock page from the Admin Dashboard or by clicking Open Check-In on an event.
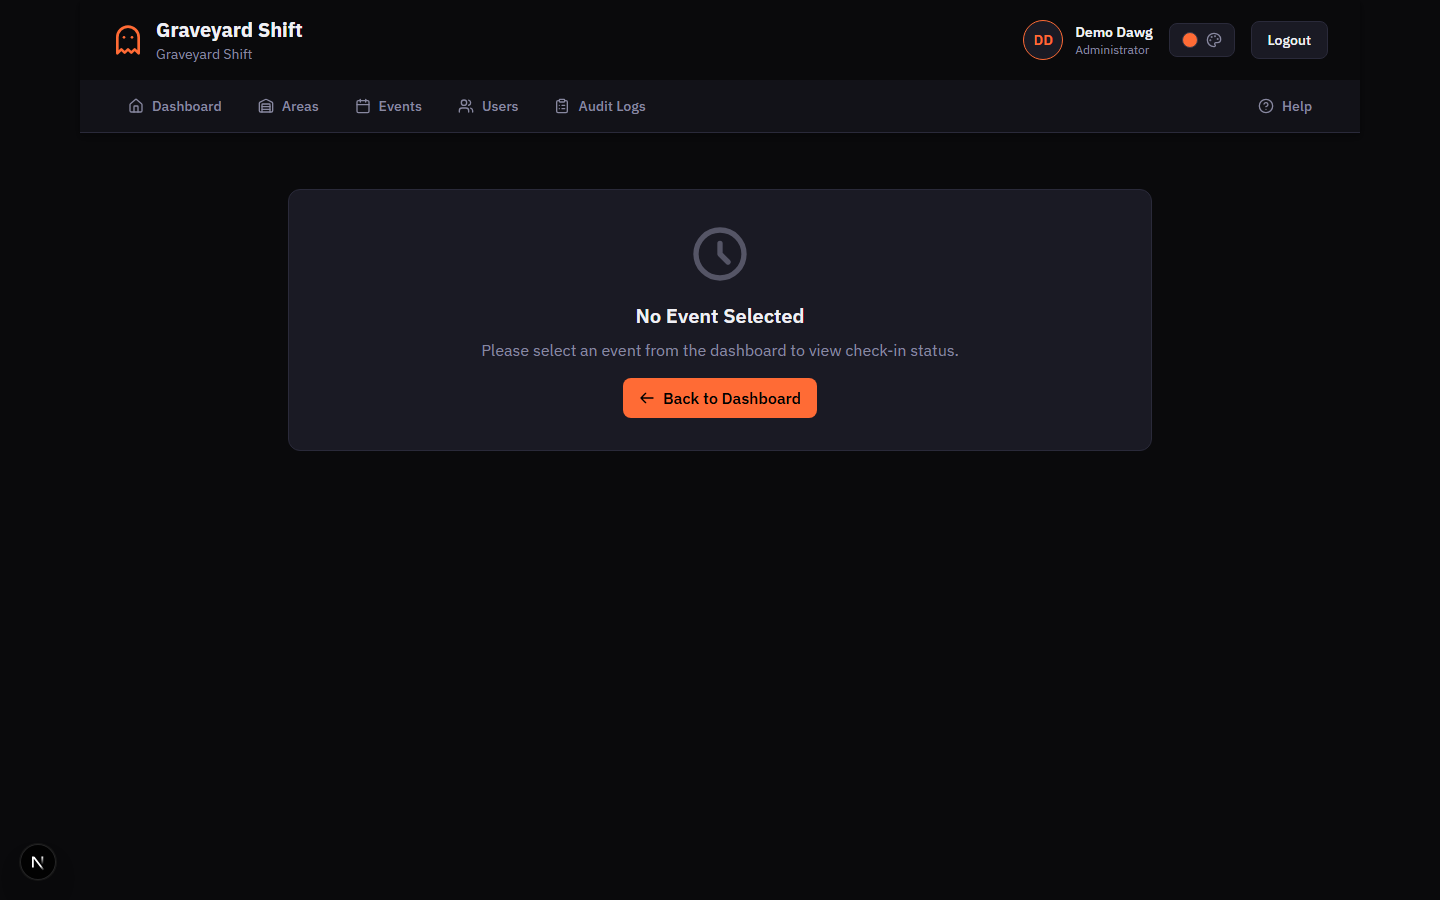
Open the Time Clock page
From the Admin Dashboard, navigate to the Time Clock page. If no event is selected, the page prompts you to select an event date from the dashboard. You can also reach this page by clicking Open Check-In from an event on the admin dashboard.
Select an event date
The page loads the staff check-in status for the selected event date. The header shows the event name, date, start and end times, and a live clock. The page auto-refreshes every 30 seconds to keep statuses current.
Review the summary cards
Four summary cards at the top show Total Scheduled (all assigned staff), Checked In (currently on site), Checked Out (completed their shift), and Not Checked In (have not arrived yet). Use these cards for a quick overview of attendance.
Check in or check out individual staff
The Staff Status list shows each scheduled employee with their assigned area and position, clock-in and clock-out times, and a color-coded status indicator. Green indicates currently clocked in, blue indicates completed (clocked out), and gray indicates not yet checked in. Click the Check In or Check Out button next to any employee to manually record their attendance.
Admin Report Fields
| Field | Required | Description |
|---|---|---|
Employee Name | No | Full name of the employee from their profile. Linked to the employee identity record. |
Event Name | No | The event associated with the work session through the schedule assignment. Shows "No Event" for sessions without a linked assignment. |
Position / Area | No | The position and area the employee was assigned to for this shift. Shows "No Position" or "No Area" if the assignment is unlinked. |
Clock In Time | No | The timestamp when the employee started their shift. Displayed in the event timezone. |
Clock Out Time | No | The timestamp when the employee ended their shift. Blank if the session is still active. |
Total Hours | No | Calculated duration in decimal hours (e.g., 5.25 for five hours and fifteen minutes). Automatically recalculated when times are edited. |
Status | No | Either "active" (employee is currently clocked in) or "completed" (employee has clocked out). |
Clock-In Location | No | GPS coordinates captured at clock-in, including distance from the event location when geofence validation was performed. |
Report Filtering
The time tracking report supports several filters to help you find specific entries. You can filter by employee (using identity user IDs), date range (start and end dates for clock-in times), and event. The report is paginated with a default of 50 entries per page. Filter by date range to focus on a single event night, or leave the filters open to see all sessions across the season.
Editing Time Entries
Admins can correct time entries when employees forget to clock out, clock in late, or when timestamps need adjustment for any reason. All edits are scoped to your company -- you can only modify work sessions belonging to employees in your organization.
Open the time tracking report
Navigate to the Admin Time Clock page and access the time tracking report. The report shows all work sessions for your company with employee name, event name, position, area, clock-in and clock-out times, total hours, and status.
Locate the entry to edit
Use the filters to narrow results by employee, date range, or event. Find the work session you need to correct.
Update clock-in or clock-out times
Admins can adjust the clock-in time, clock-out time, or add notes to any work session. When you change times, the system automatically recalculates the total minutes worked. The clock-out time cannot be set earlier than the clock-in time. You can also clear the clock-out time to reopen a session that was closed prematurely.
Save the changes
Confirm the edits. The updated work session reflects the corrected times and recalculated duration immediately.
Adding Notes to Entries
When editing a work session, you can add a notes field to document the reason for the correction. For example, noting "Employee forgot to clock out -- admin set clock-out to event end time" provides an audit trail for future reference. Notes are visible in the time tracking report alongside the other session fields.
Attendance Reports
The time tracking report serves as your primary attendance report. It aggregates all work sessions for your company and provides the data you need to review attendance patterns, calculate payroll hours, and identify staffing issues.
What the Report Includes
Each row in the report represents a single work session and includes the employee name, associated event and event date, assigned position and area, clock-in and clock-out timestamps, total hours worked (in decimal format), session status (active or completed), and clock-in location data when available.
Using Reports for Payroll
Filter the report by a date range that matches your pay period. The total hours column provides the decimal hours worked for each session. For an employee who worked three shifts of 5.00, 4.50, and 6.25 hours, the total across those sessions is 15.75 hours. The employee profile also tracks a cumulative total hours worked field that is automatically incremented each time an employee clocks out.
No-Show Detection
The system helps you identify employees who were scheduled but did not show up. The admin check-in dashboard highlights no-shows through the "Not Checked In" summary card and the gray status indicators in the staff list.
Identifying No-Shows
On the admin Time Clock page, the "Not Checked In" card shows the count of scheduled employees who have not clocked in. In the staff list, these employees display a gray dot status indicator and a Check In button. As the event progresses, any employee who remains in the Not Checked In state is likely a no-show.
Automated No-Show Alerts
The Messaging & Notifications system includes an automation rule for no-show alerts. When enabled, this rule sends an alert to admins 15 minutes after a shift starts if the assigned employee has not clocked in. The alert includes the employee name and position so you can quickly decide whether to reassign the shift or follow up with the employee.

Best Practices
- Publish schedules before event night. When schedule assignments are in place before employees arrive, the time clock automatically links work sessions to the correct event, position, and area. This gives you complete attendance data without manual cleanup.
- Configure geofences for event locations. Setting GPS coordinates and a geofence radius on your events ensures employees can only clock in when they are physically on site. The default radius is 100 meters, which works well for most venue sizes. Increase it for sprawling outdoor attractions.
- Keep the admin check-in dashboard open during events. The 30-second auto-refresh means you always have a current view of who has arrived, who is on site, and who has not checked in. Use it as a command-center display alongside your scheduling interface.
- Review and correct time entries the next day. Check the time tracking report the morning after each event to catch forgotten clock-outs, unusually long sessions, or any active sessions that should have been closed. Correcting entries promptly keeps your payroll data accurate and your attendance records clean.
Troubleshooting
Clock-in fails with a geofence error
This error appears when the event has a geofence configured and your current location is outside the allowed radius. The error message shows the required radius and your current distance from the event. Move closer to the event location and try again. If you believe you are at the venue but the check is failing, ensure your device GPS is enabled and your browser has permission to access location. Standing indoors or in areas with poor GPS signal can cause inaccurate position readings -- try stepping outside briefly.
"User is already clocked in" error
This error means you have an active work session that was not properly closed. You must clock out of the existing session before starting a new one. If the Time Clock card shows "Currently Clocked In" but you do not remember clocking in, ask an admin to review your active sessions in the time tracking report and close the stale session on your behalf.
"Clock out time cannot be before clock in time"
This validation error occurs when an admin edits a work session and sets the clock-out time to a value earlier than the clock-in time. Verify both timestamps and ensure the clock-out time is after the clock-in time. If you need to change the clock-in time as well, update both fields in the same edit operation.
Admin dashboard shows "No staff scheduled for this event"
This message appears when the selected event date has no schedule assignments. Verify that shifts have been created and published for this event date through the Staff Scheduling workflow. If shifts exist but the list is still empty, confirm you are viewing the correct event date by checking the event name and date in the page header.